Microsoft ADFS-SAML Instructions
Operational Scenarios
Active Directory Federation Services (ADFS) is Microsoft's Windows Server Active Directory Federation Services (ADFS). ADFS is a new technology that can be used to authenticate multiple web application users during a single session. You can use User SSO to integrate ADFS with HAP to enable ADFS account console management resources
Prerequisites
-
Have a Windows Server server(This is Window Server 2012 R2, Window Server 2016/2019 configuration is slightly different).
-
Perform the following setup work within the server.
- DNS server: resolves authentication requests to the correct Federation Service.
- Active Directory Domain Services (AD DS): Provides functions such as creating, querying, and modifying objects such as domain users and domain devices.
- Active Directory Federation Service (AD FS): Provides the function of configuring SSO relying parties and provides SSO authentication for the configured relying parties.
Steps
Install and deploy Microsoft AD
Explanation
If you have already installed and deployed Microsoft AD, you can ignore steps 1-5.
-
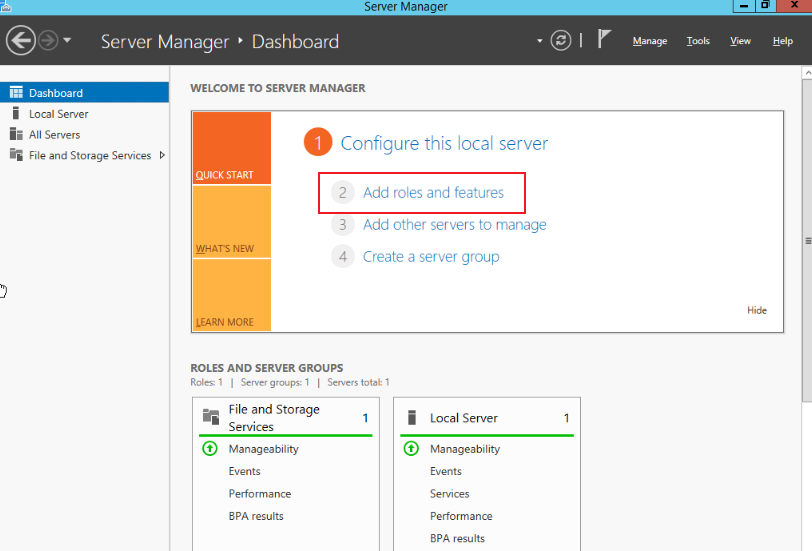
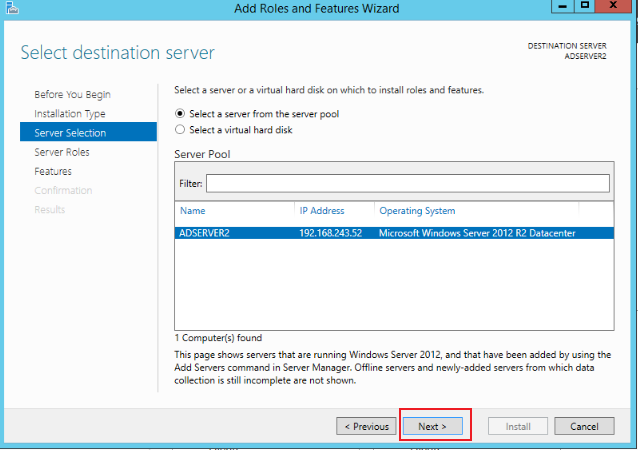
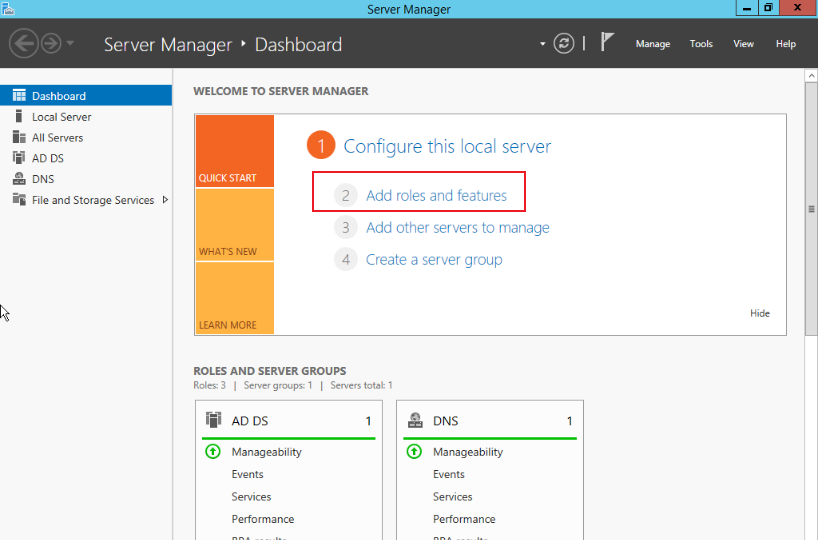
In the server, go to Server Manager > Dashboard and click Add roles and features, as shown in the figure below:
-
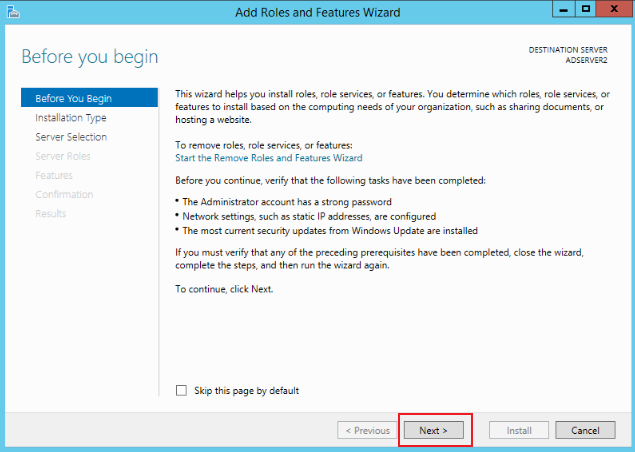
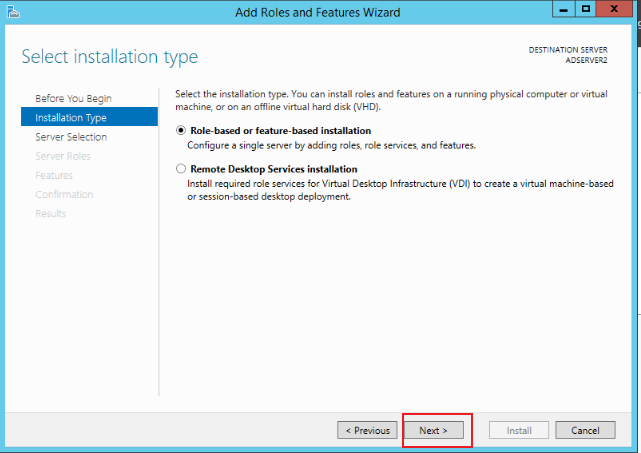
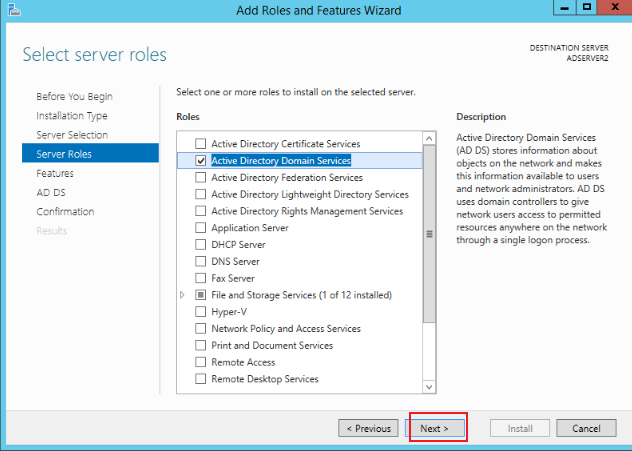
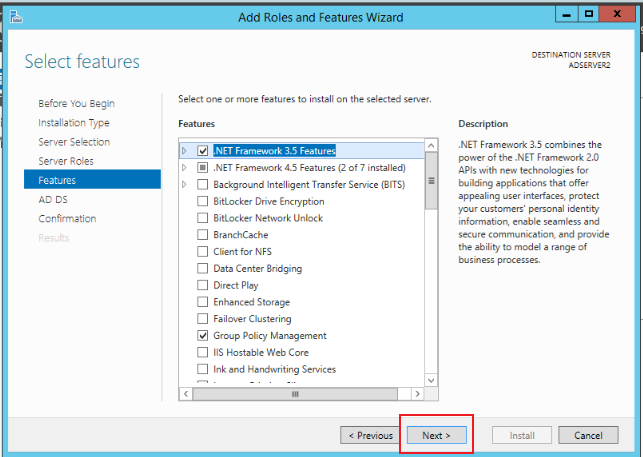
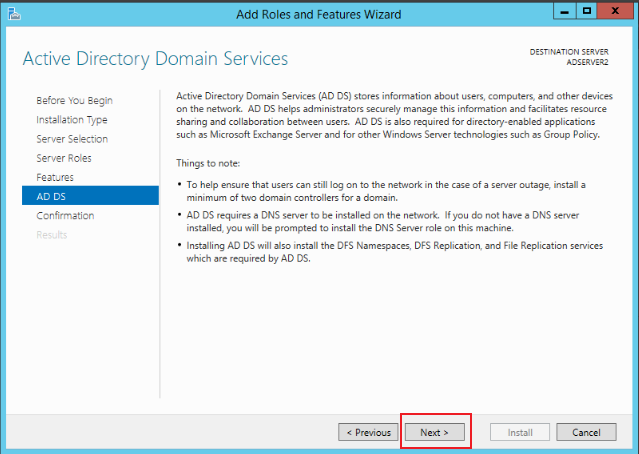
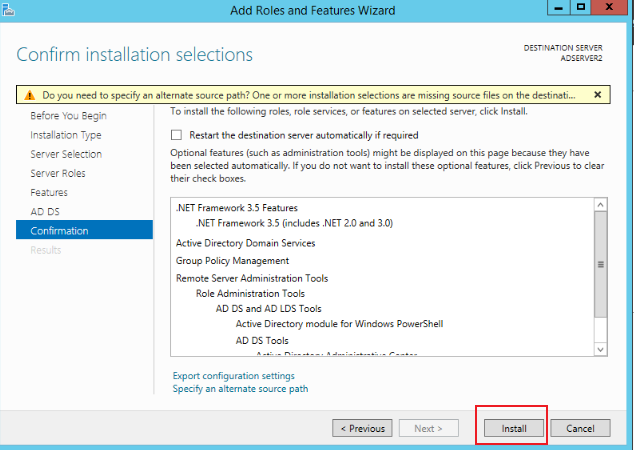
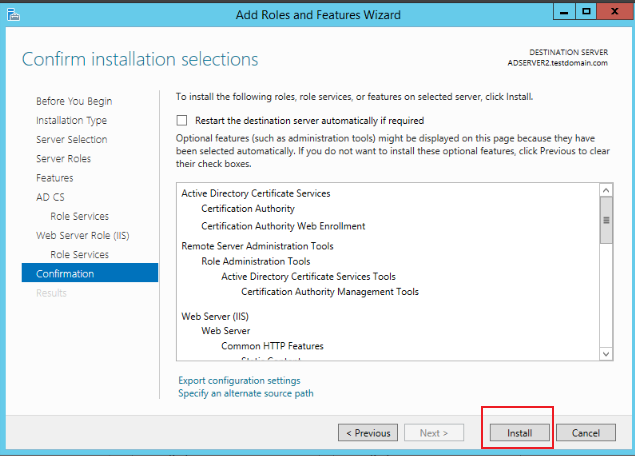
Keep clicking Next until you click Install to complete the installation, as shown in the figure below:
-
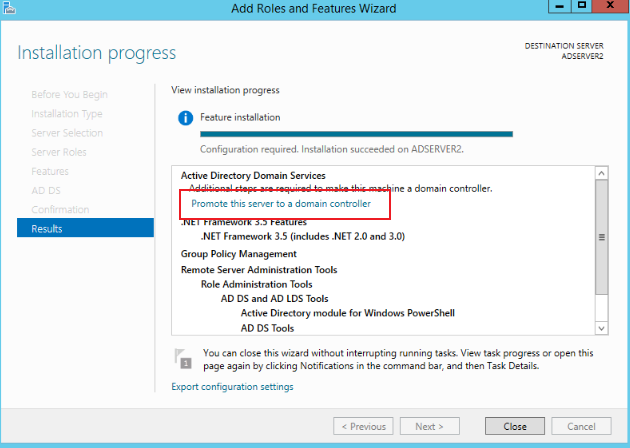
After the installation is complete, click Promote this server to a domain controller, as shown in the figure below:
-
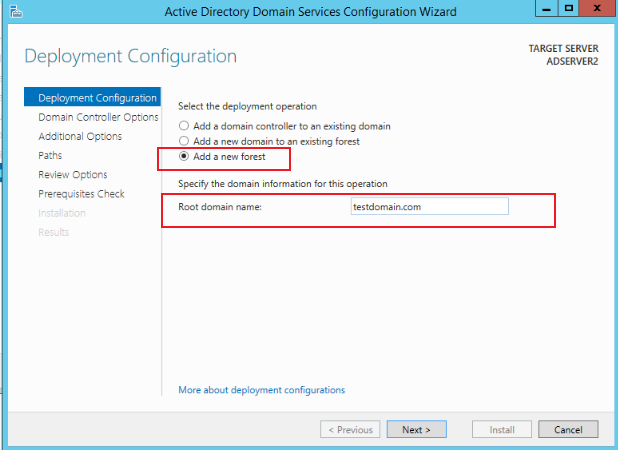
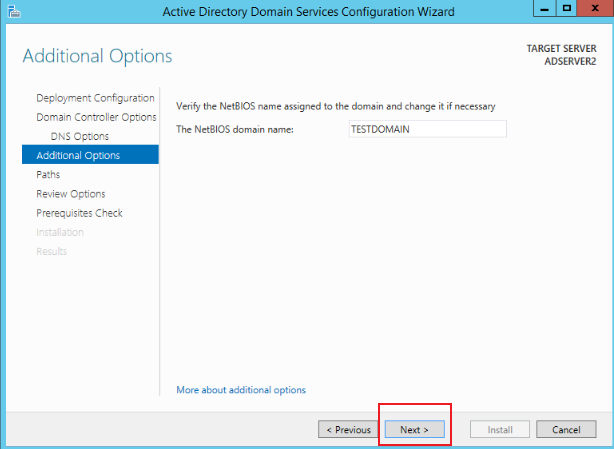
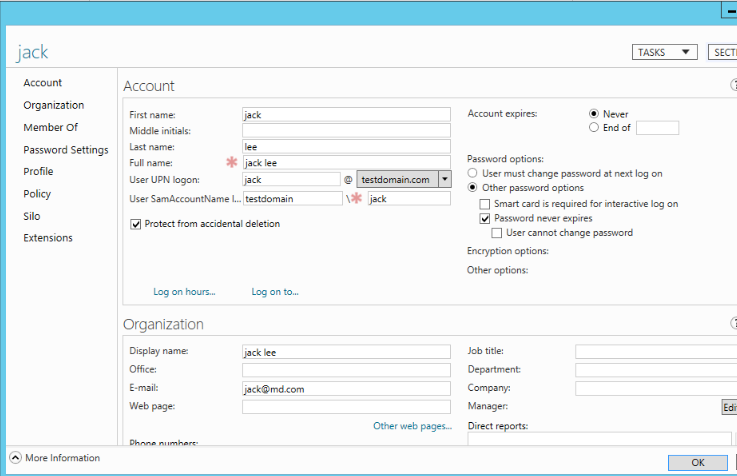
Select Add a new forest on the Deployment Configuration page and add the Root domain name information to testdomain.com, as shown in the figure below:
-
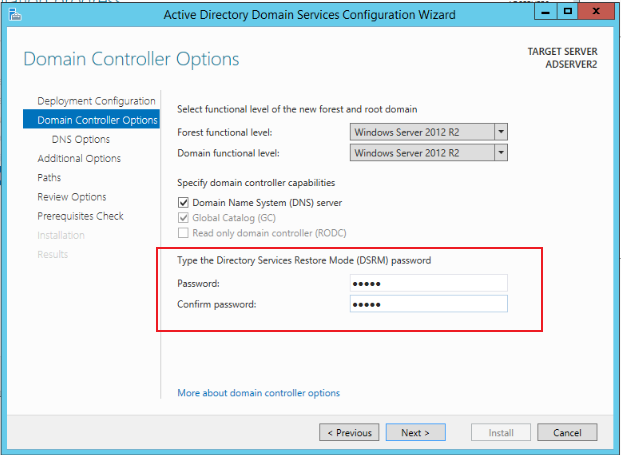
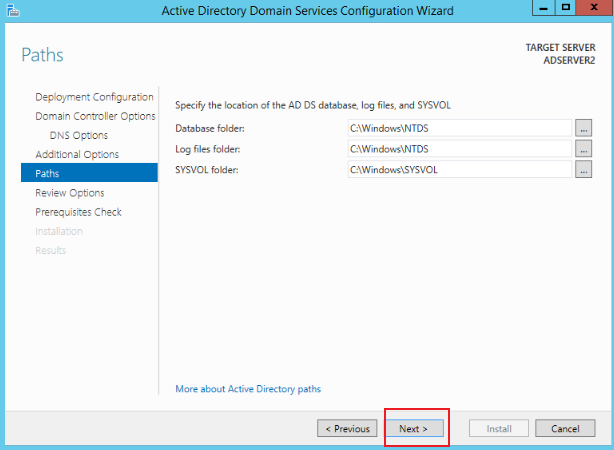
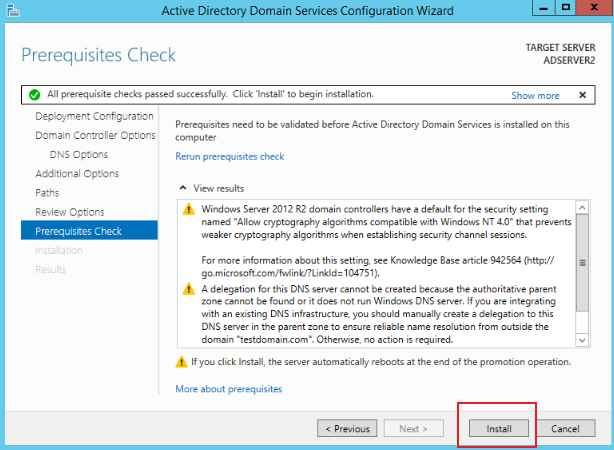
Supplement the Password information in Domain Controller Options, as shown in the figure below. After completion, click Next and click Install to complete the installation:
Install CA
-
In the cloud server, go to Server Manager > Dashboard and click Add roles and features, as shown below:
-
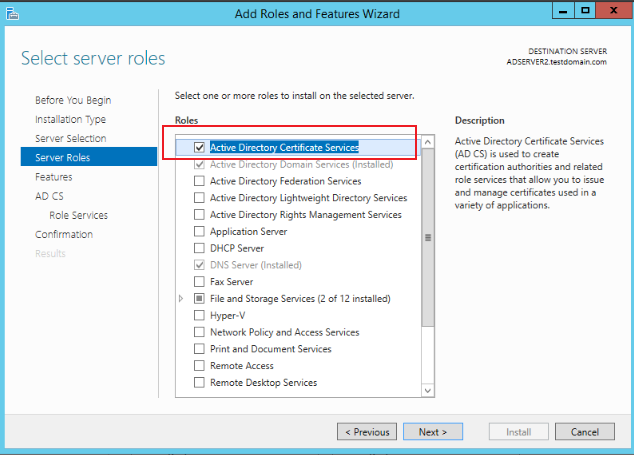
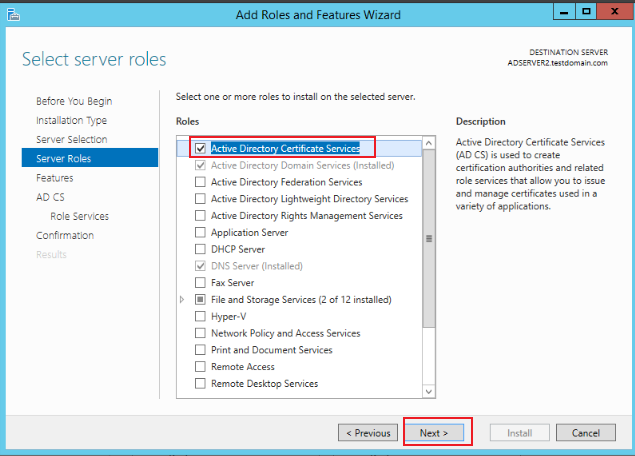
Keep clicking Next until the Server Roles page, and select Active Directory Certificate Services for Roles, as shown below:
-
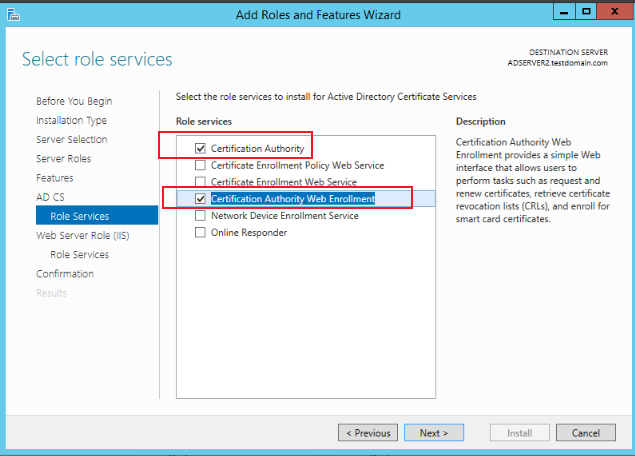
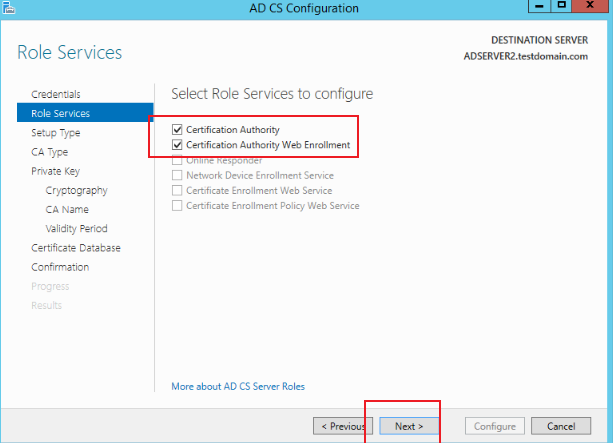
Keep clicking Next until you reach the AD CS-Server Roles page. For Server Roles, select Certification Authority, Certification Authority Web Enrollment, as shown in the figure below:
-
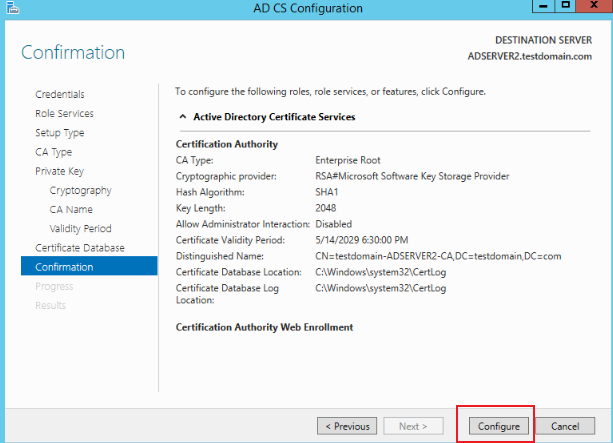
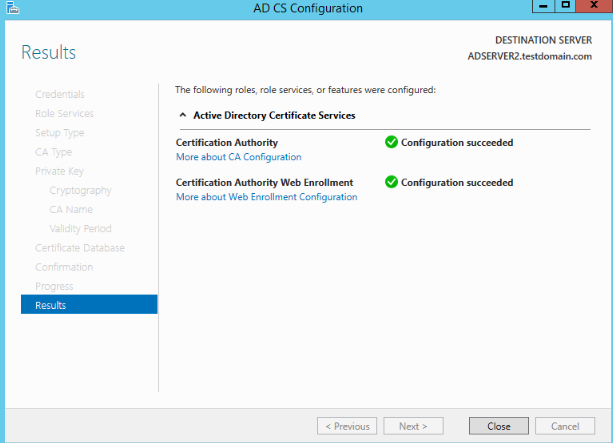
Keep clicking Next until the Results page, click the information below to configure AD CS Configuration, as shown below:
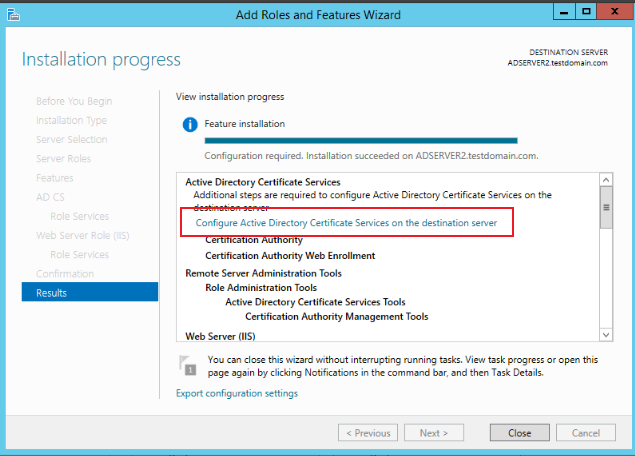
-
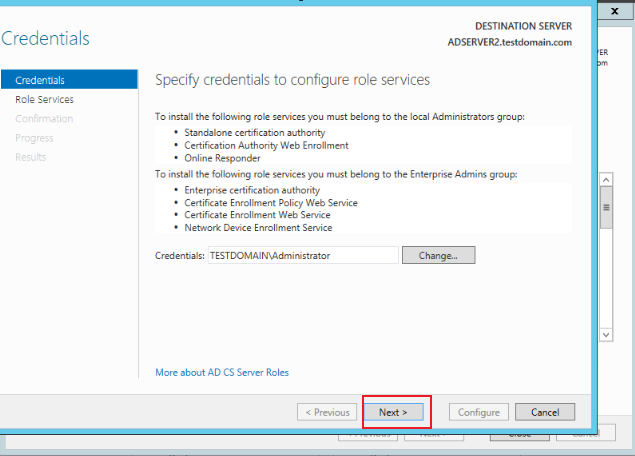
Click Next, in Role Serverives, check the information in the picture below, and click Next
-
On the Setup Type page, select Enterprise CA, as shown in the following figure:

-
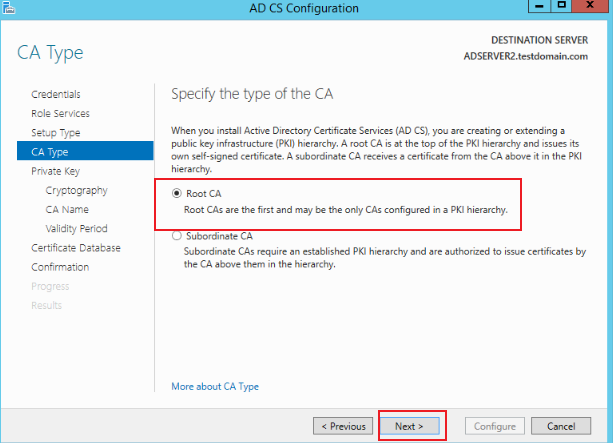
On the CA Type page, select Root CA, as shown in the figure below:
-
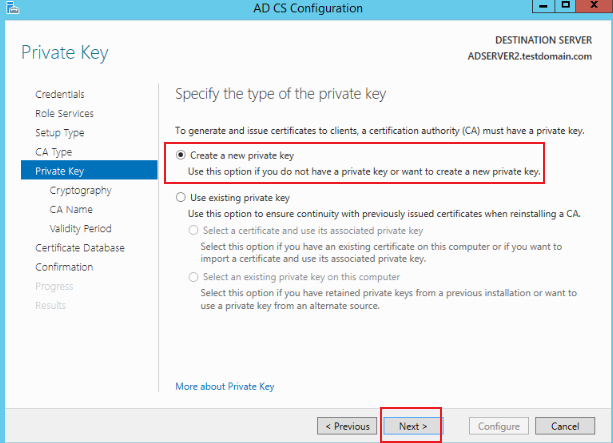
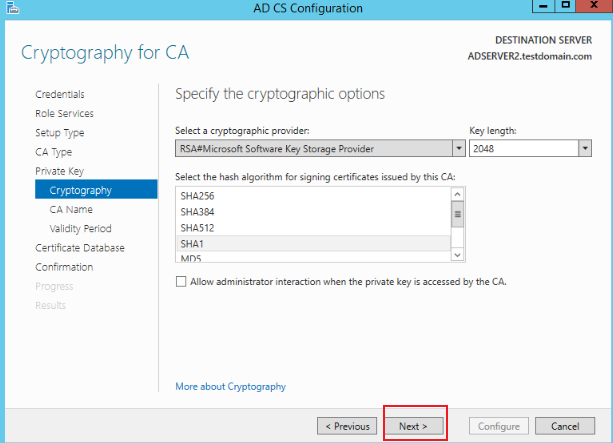
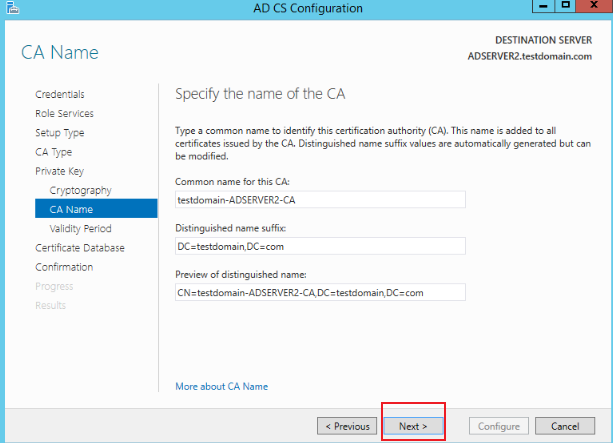
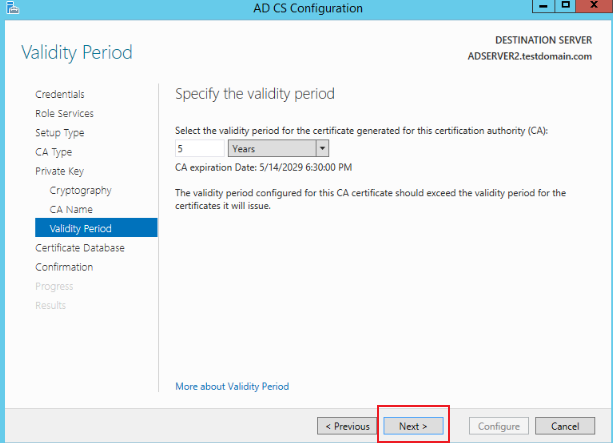
On the Private Key page, select Create a new private key, as shown in the figure below:
-
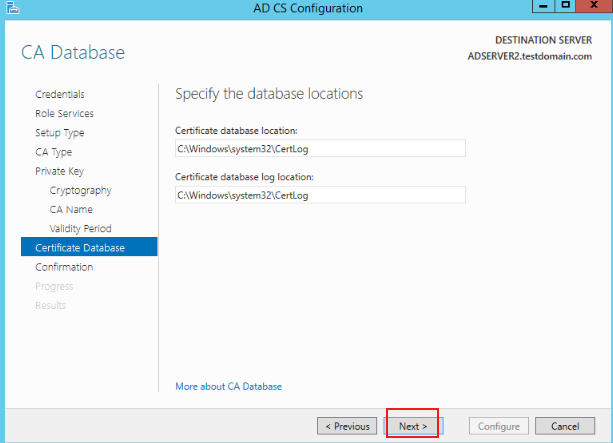
On the Certificate Database page, add information and click Next, as shown below:
-
Visit
http://localhost/certsrvto ensure that the CA is installed successfully, as shown in the following: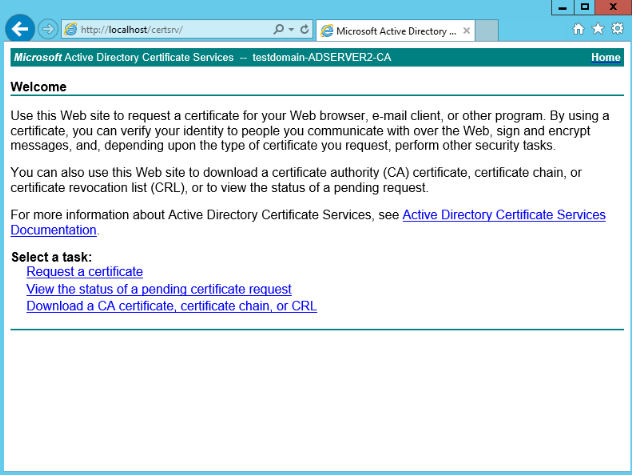
Install ADFS service
Before configuring, you need to issue an authorization certificate to the computer or designated user or computer. Before installing ADFS, you need to create and configure a certificate. In this article, you apply for the certificate through IIS.
-
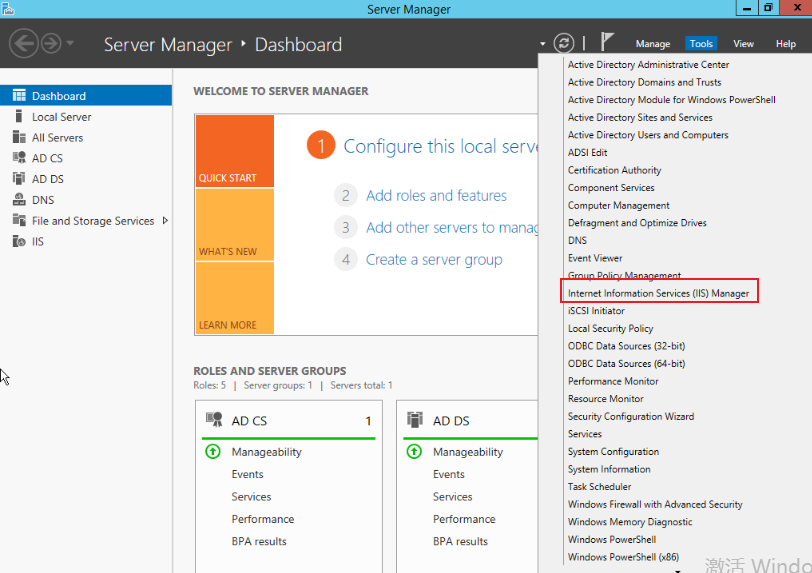
Click Server Manager > Tools and select IIS Manager.
-
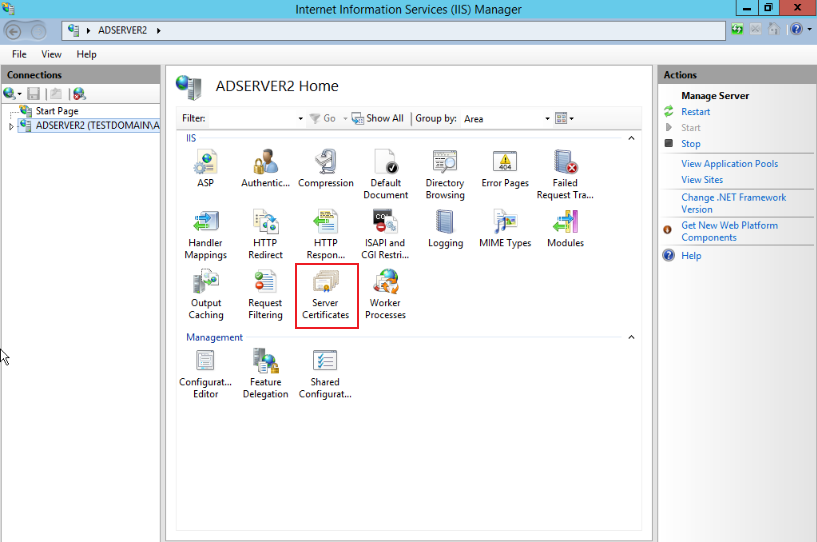
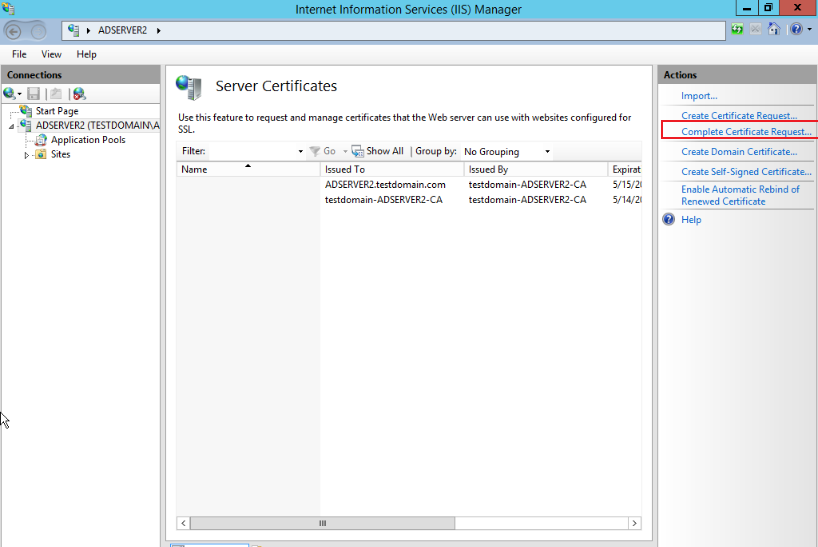
In IIS Manager, click Server Certificates, as shown below:
-
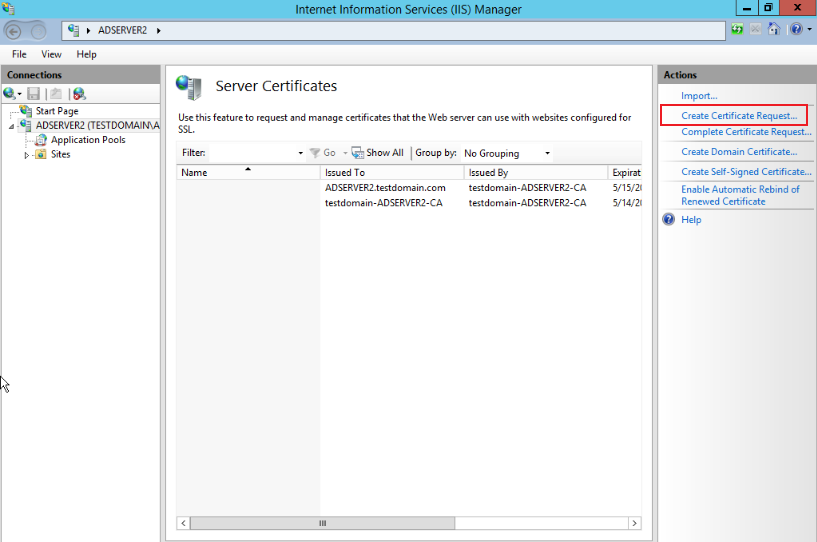
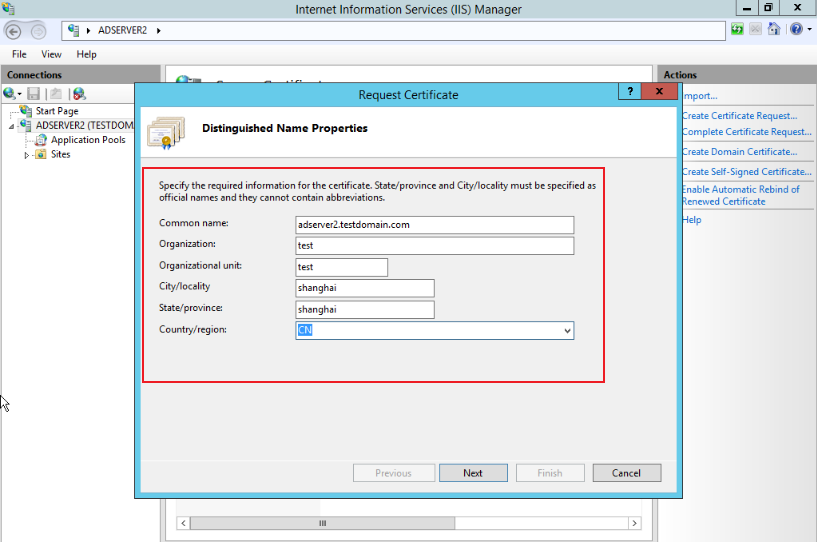
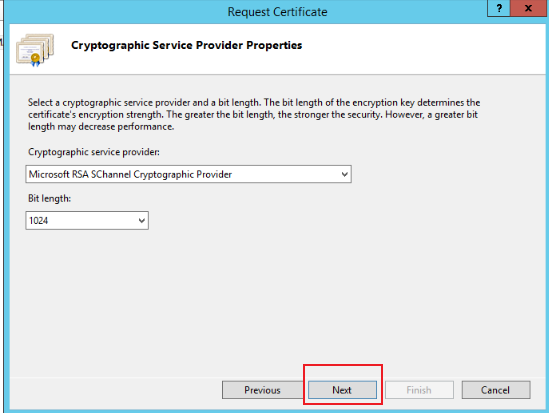
Enter the Server Certificates page and click Create Certificate Request, as shown below:
-
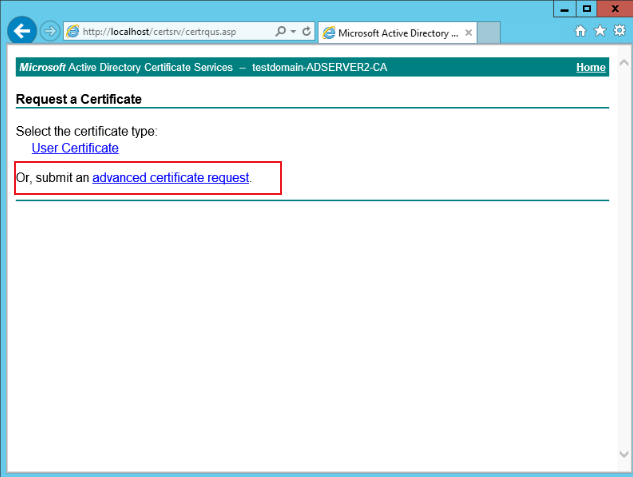
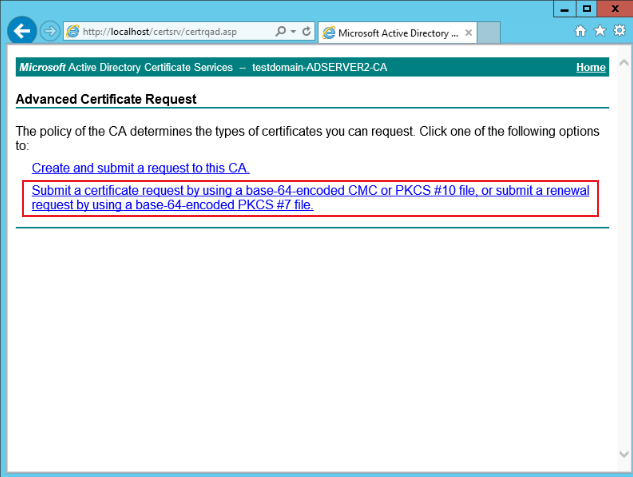
Visit
http://localhost/certsrv, click Request a certificate > advanced certificate request > using a base-64-encoded, as shown below: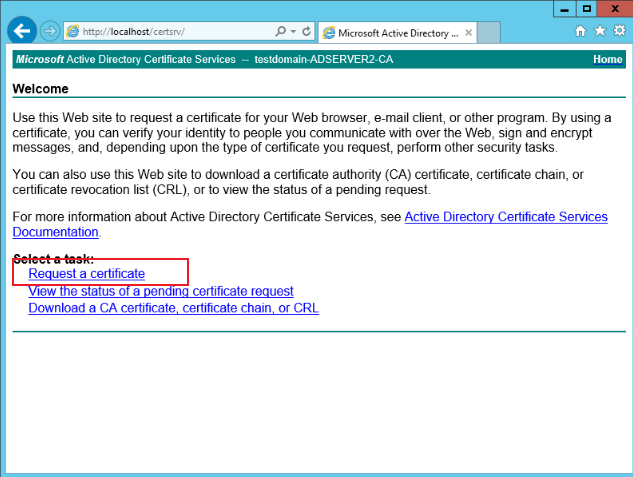
-
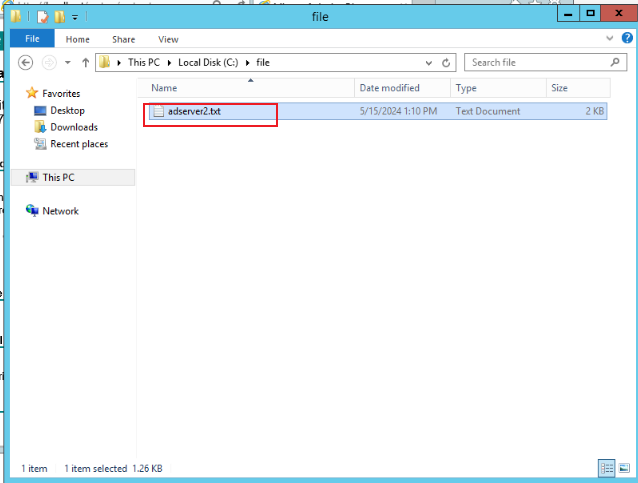
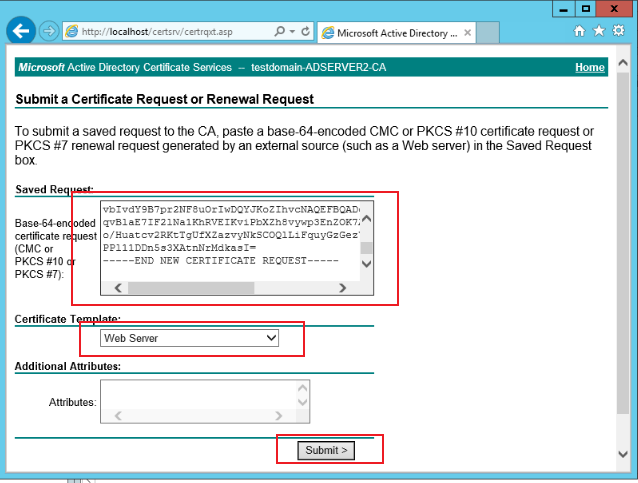
In the pop-up submit certificate request page, copy the contents of the certificate file saved in the certificate request (adserver2.txt in the step) and add it to the following input box. Select the Web server as the certificate template and click Submit. As shown in the figure below:
-
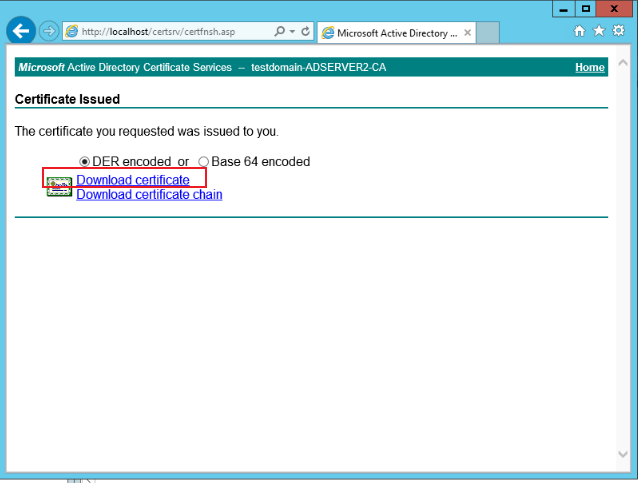
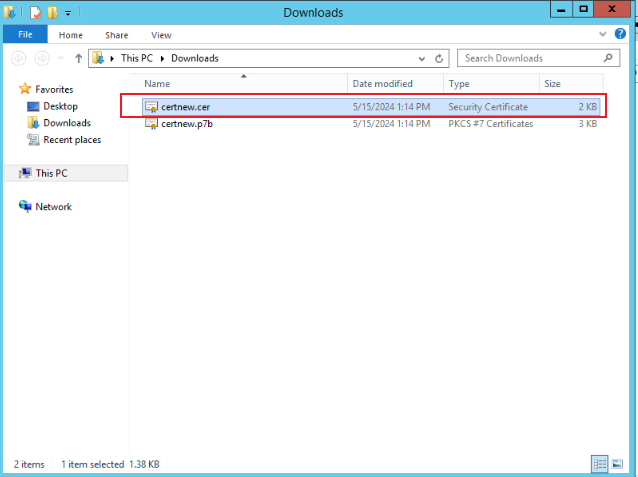
After submitting, click Download certificate, as shown below:
-
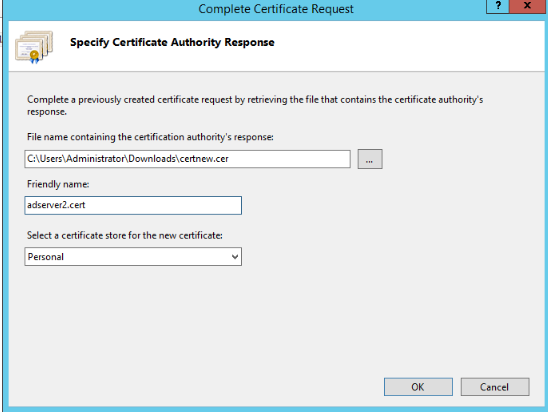
On the server certificate page, click Complete Certificate Request, and select the certificate downloaded in step 6 on the pop-up page, as shown below:
-
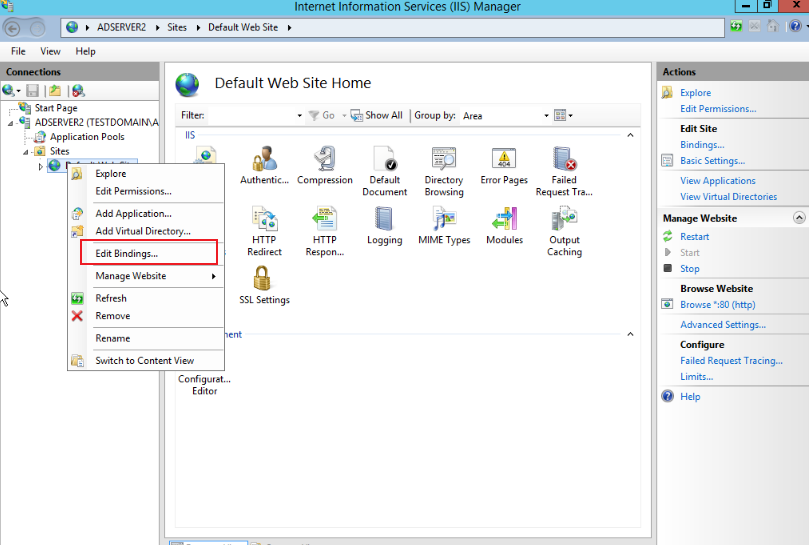
On the Website > Default Web Site Home page, right-click Edit Bindings, as shown below:
-
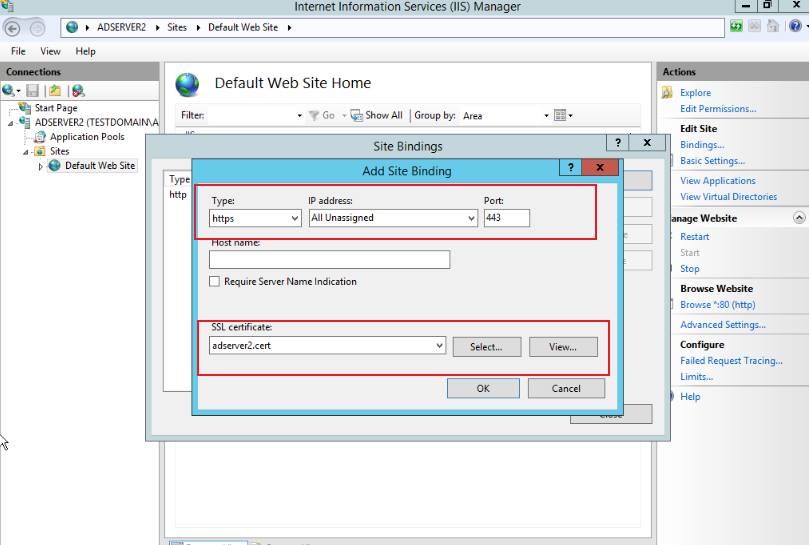
On the website binding page that pops up, click Add, select the type as https, the IP address as all unassigned, the port as 443, and the SSL certificate as adserver2.cert, as shown in the following figure:
-
In the server, go to Server Manager > Dashboard, click Add roles and features, and keep clicking Next according to the default selection.
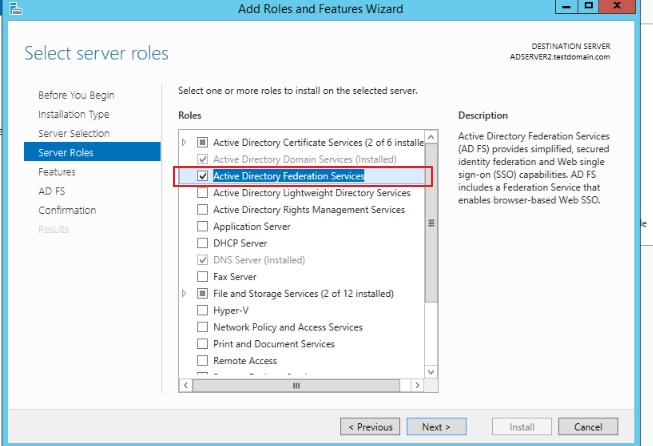
-
Go to the Select server roles page, check Active Directory Federation Services, and click Next
-
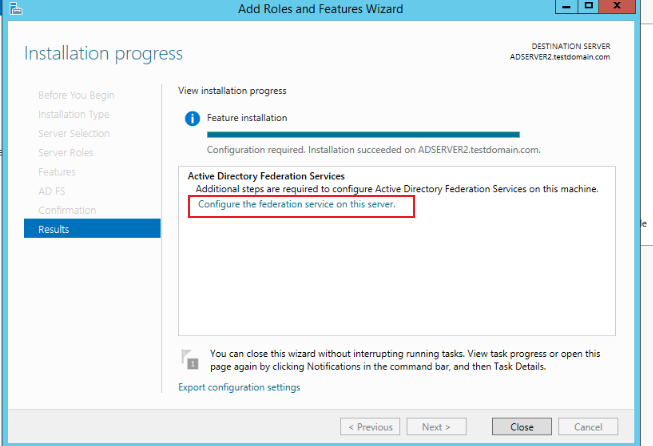
On the pop-up wizard page, click Install.

-
On the installation progress page, click Configure the federation service on this server.
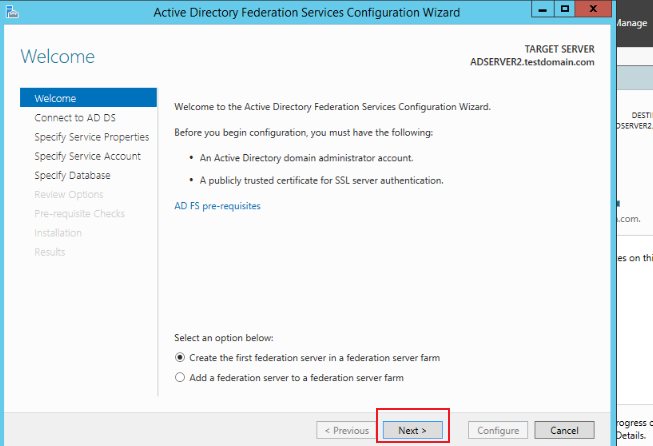
-
On the pop-up wizard page, click Next.
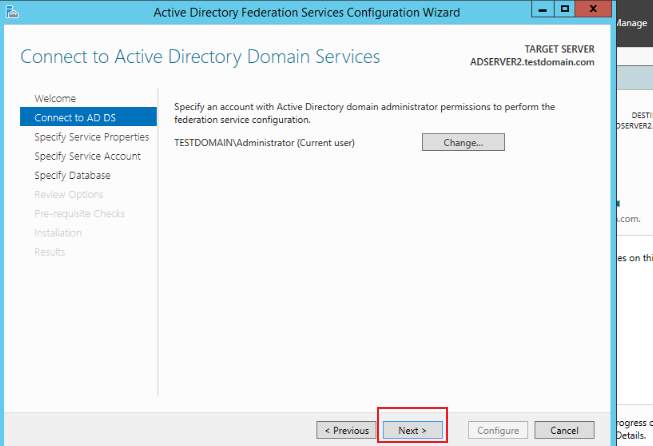
-
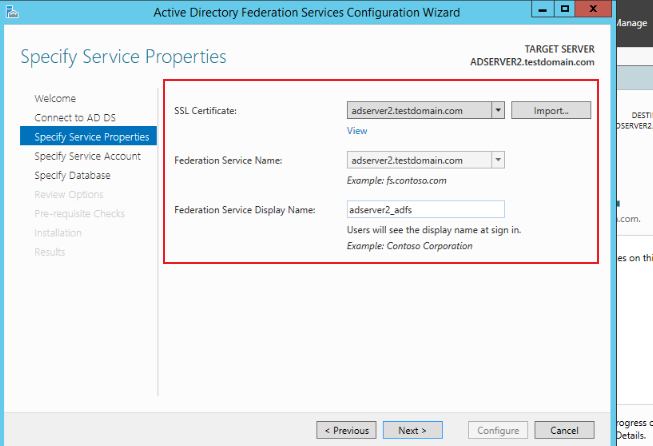
On the Specify Service Properties page, select and fill in the required data, and click Next.
-
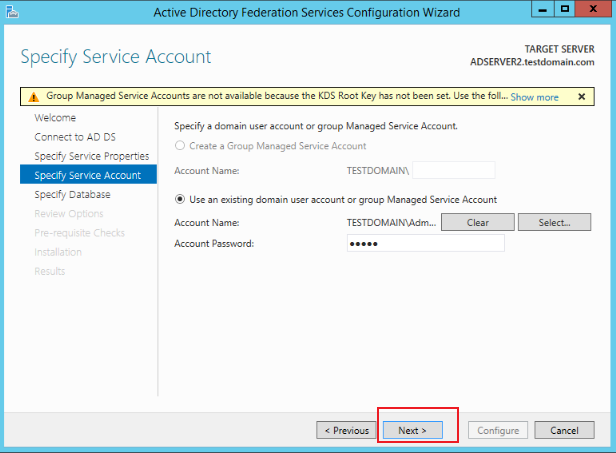
On the Specify Service Account page, choose to use an existing domain user account or group managed service account, click Select.
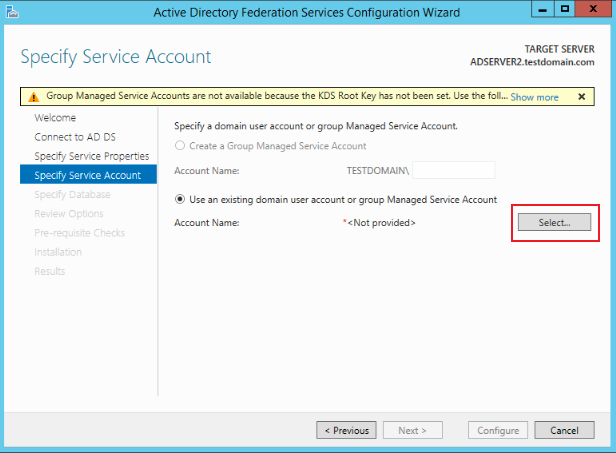
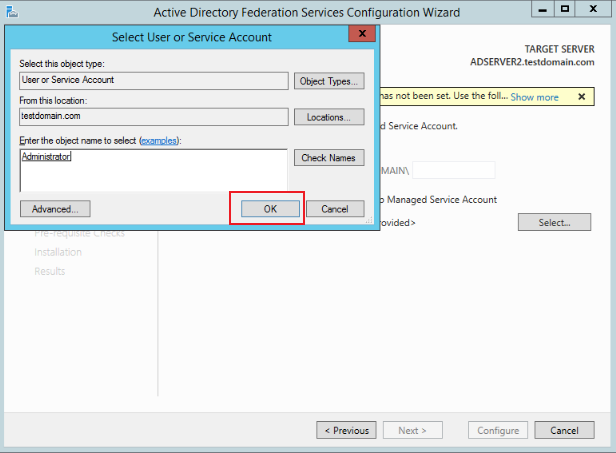 .
. 
-
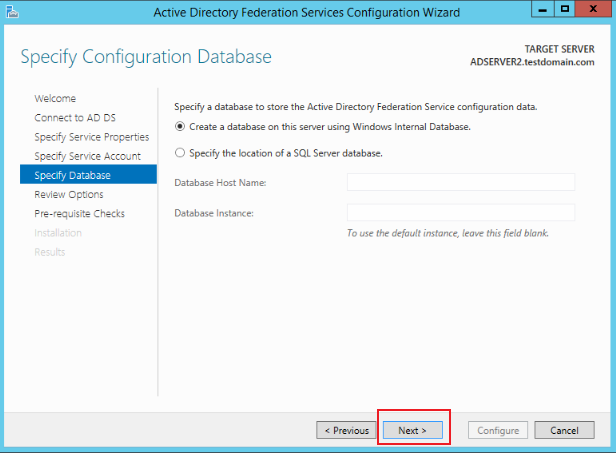
Specify database, and click Next.
-
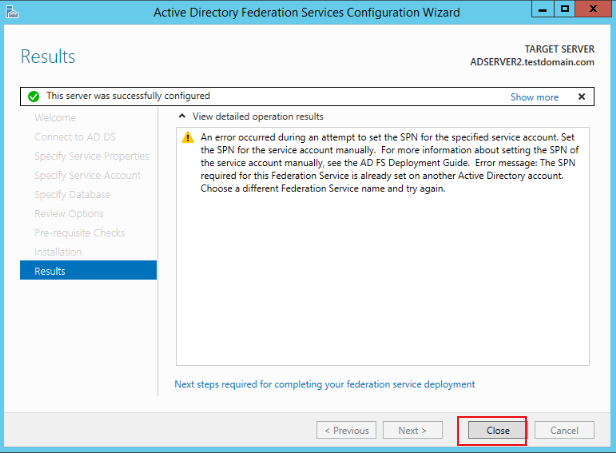
Visit
https://adserver2.testdomain.com/FederationMetadata/2007-06/FederationMetadata.xmlwith the browser to check whether the installation is successful.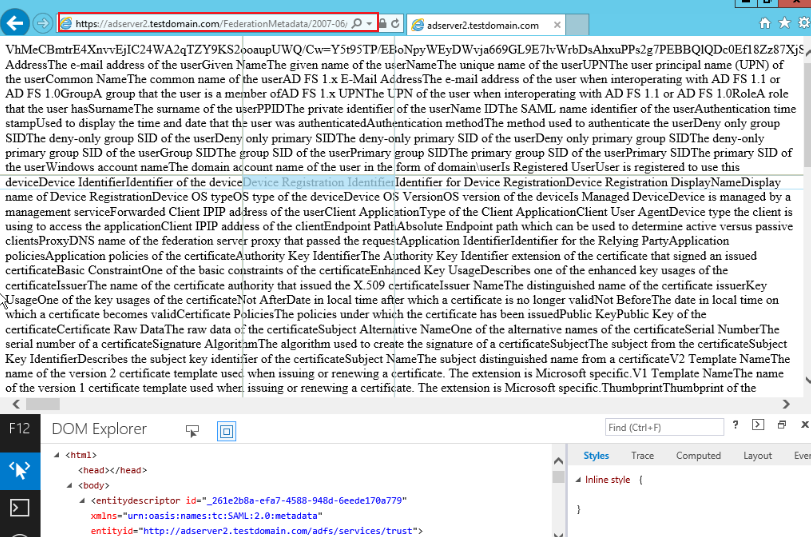
User SSO configuration
-
Access
https://adserver2.testdomain.com/FederationMetadata/2007-06/FederationMetadata.xmlin the server browser and download the source data XML to the local. Here, use the command line to export the data.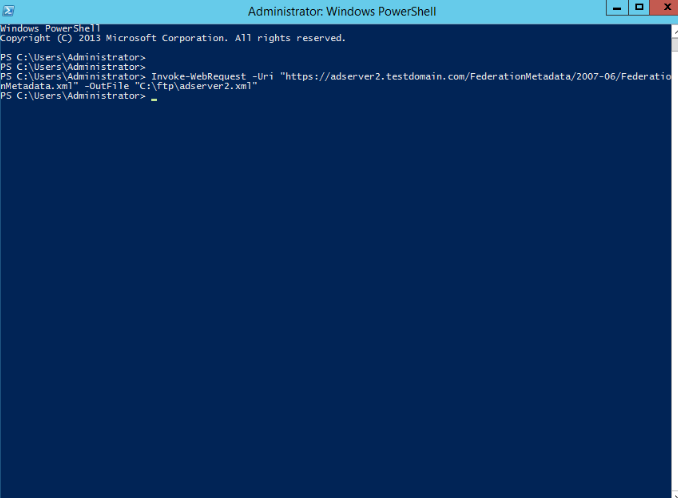
-
Enable SAML2 docking configuration, configure and mount the XML file saved in step 1 according to the steps (named
idp.xml in the docking document). -
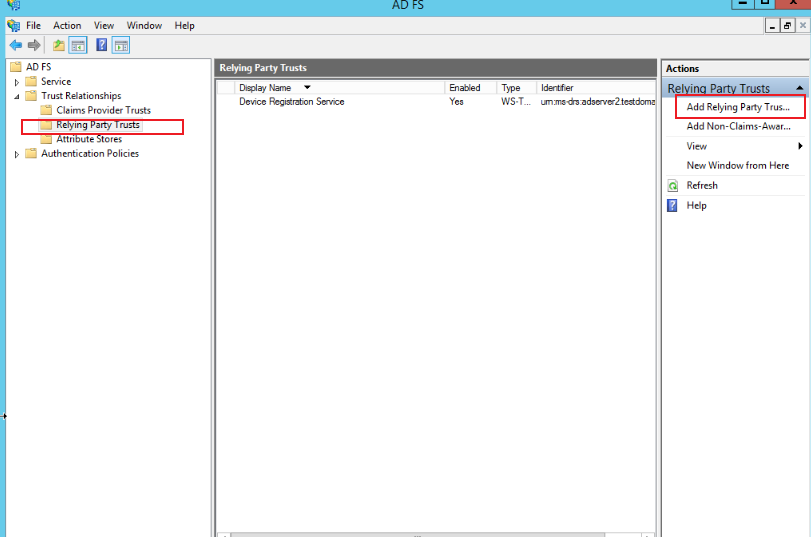
Enter the ADFS management page in the server, select Trust Relationships > Relying Party Trusts, right-click and select Add Relying Party Trust, click Start, and add the joint metadata address and metadata address Take it from step 2 and keep clicking Next as shown below:
-
Here you choose to set the remote xml address. The HAP system is generally
{server}/orgsso/metadata.xml.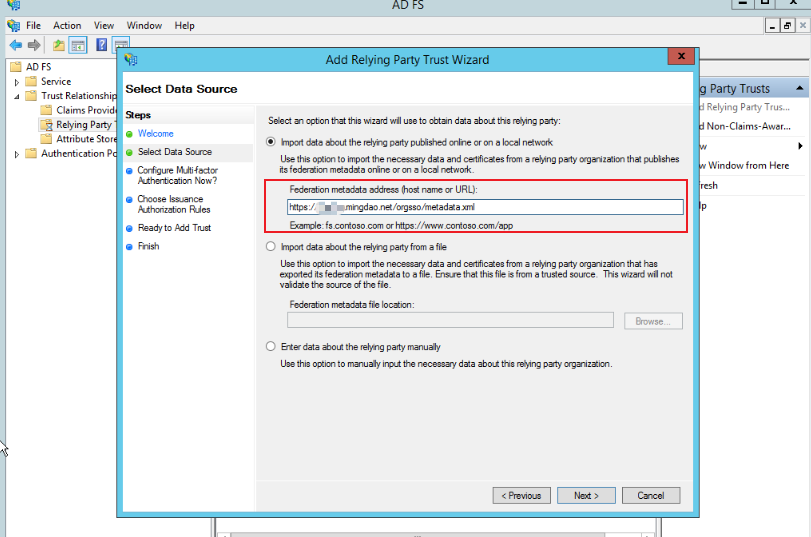
-
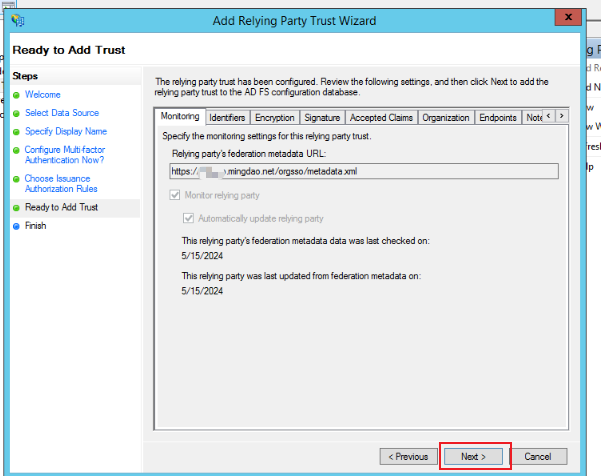
Keep clicking Next.
-
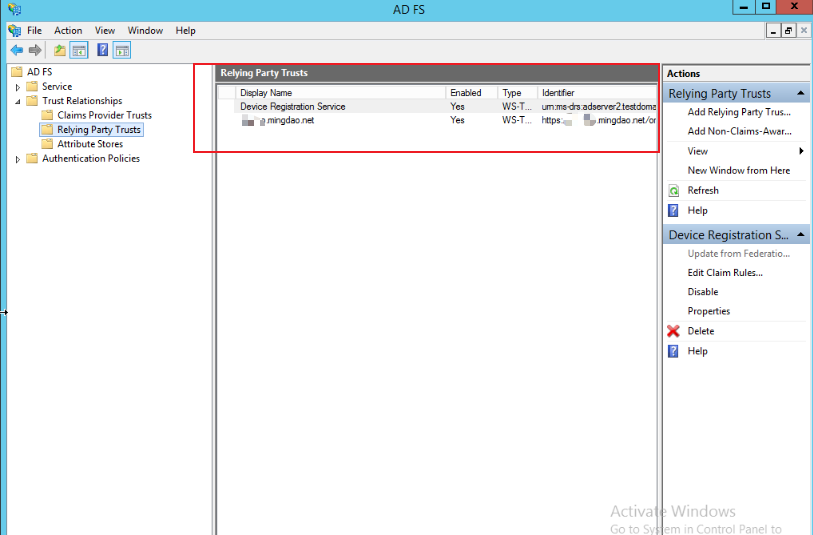
After the configuration is complete, you can visit
https://adserver2.testdomain.com/adfs/ls/idpinitiatedsignonto view trusted sites.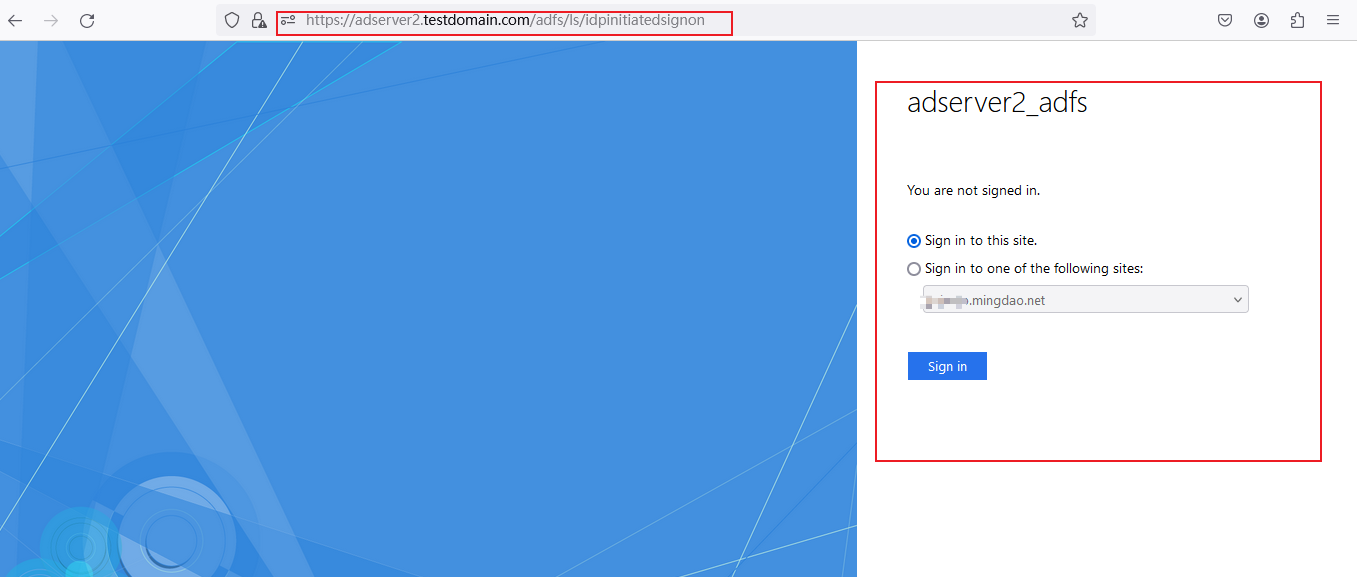
Configure SAML assertion attributes for SP
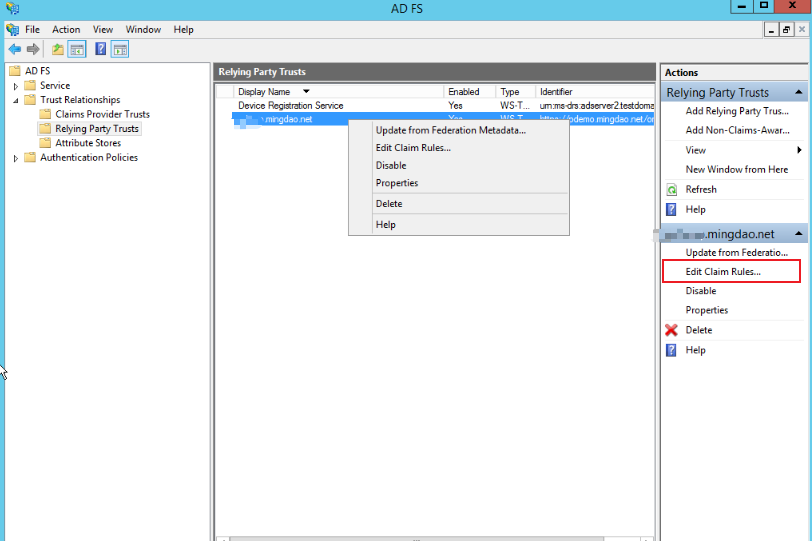
-
Add mapping rules:
-
Select the rule template, which can be set according to the actual situation. You can customize the template or select an existing rule.
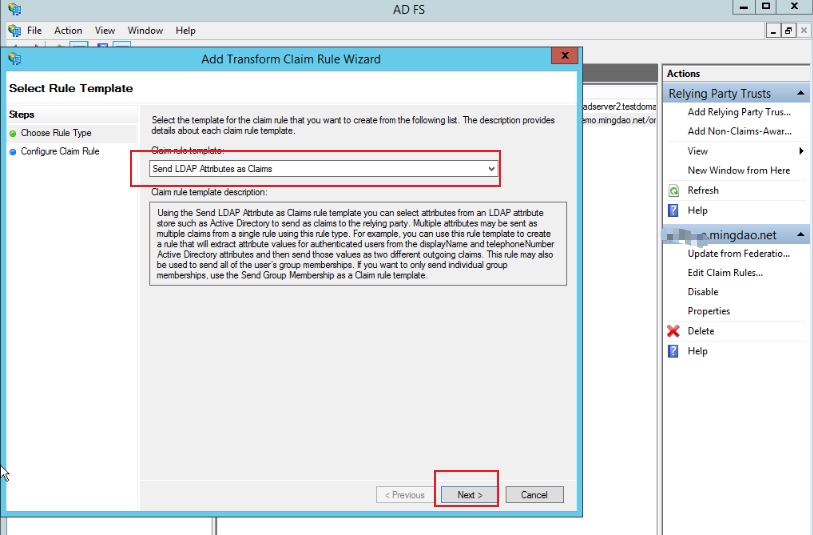
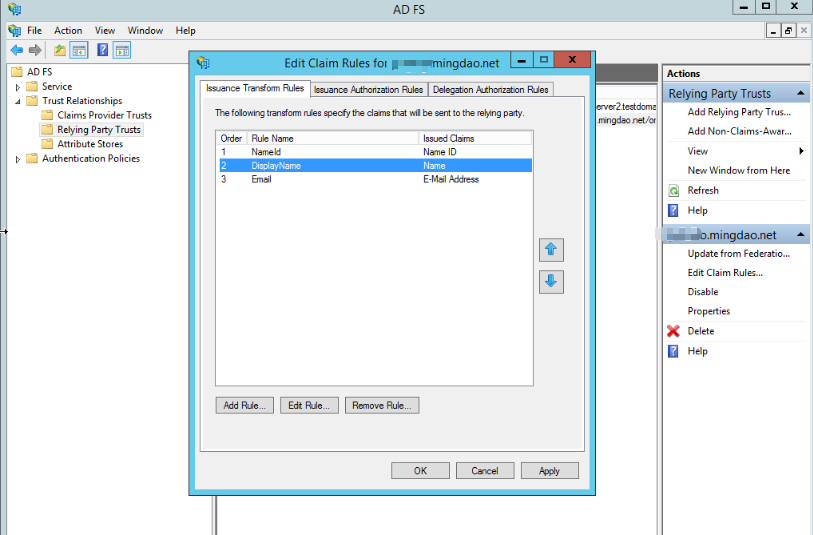
-
Here is an example of submitting three existing rules, corresponding to user ID, Name, and Email corresponding to user attributes, for account creation.
User SSO login
-
Enter
{server}/orgsso/ssoin the browser.
-
Redirect SAMLRequest to
https://adserver2.testdomain.com/adfs/ls/?SAMLRequest=xxx
-
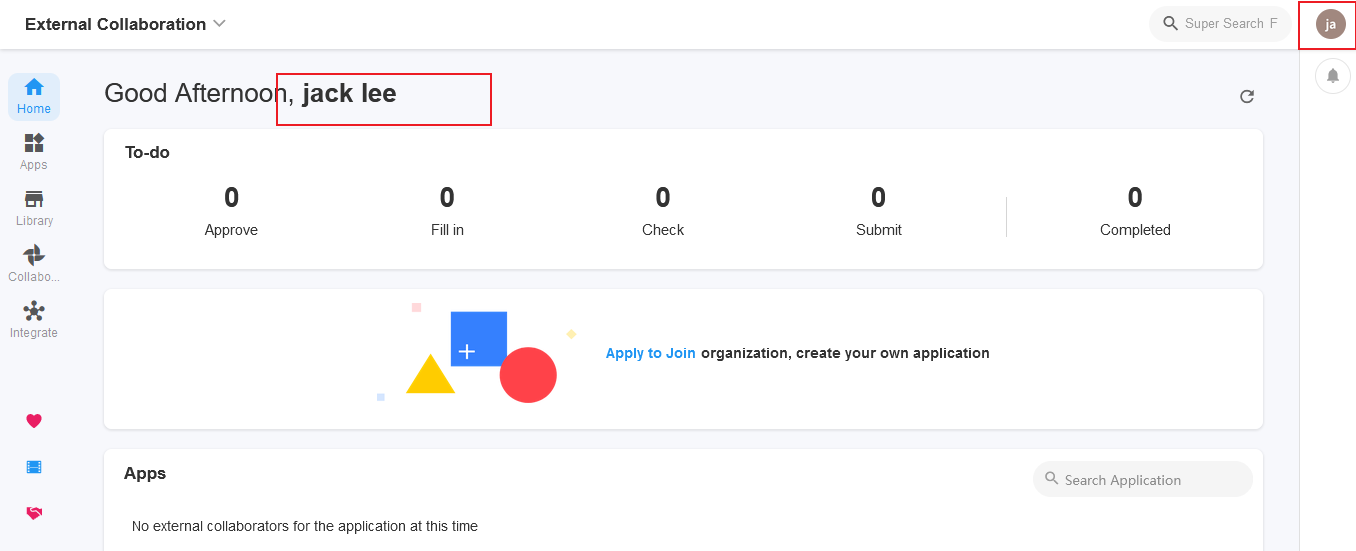
Enter adserver2 username and password information to complete system login, as shown in the figure below: